
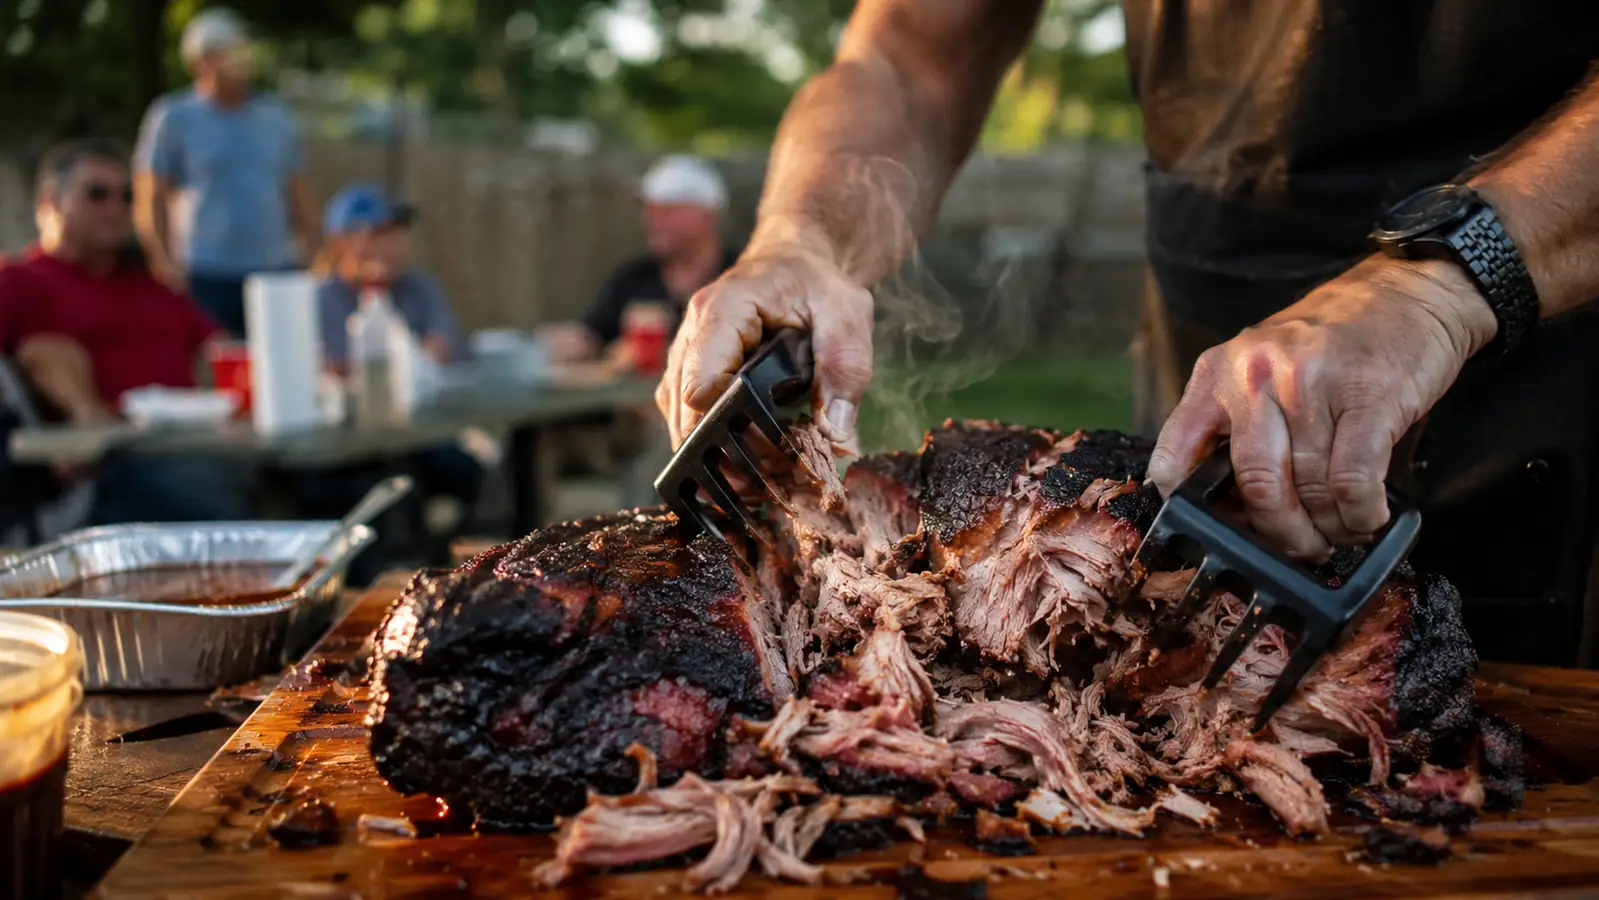
The first time I tried to shred a whole pork butt with two forks, I was standing at my kitchen counter at 11:45 on a Sunday with fourteen people due at noon and a nine-pound shoulder that was not cooperating. My hands were slipping, the forks kept sliding off each other, and half the meat was staying in stringy clumps the size of my thumb. That was the last day I ever pulled pork without a pair of Bear Paw meat claws in the drawer next to the tongs.
Shredding a pork butt the right way is not complicated, but there is a right way and a wrong way, and the difference shows up in how fast you get done and how the meat looks on the plate. Do it wrong and you get a mushy, overworked pile with hot grease dripping down your wrist. Do it right and you get long, ropey strands of pork that hold sauce, hold their texture in a sandwich, and get out of the kitchen and onto the table while it's still hot. Here's exactly how I do it, step by step, from the moment that butt comes off the smoker to the moment it lands in the serving pan.
Skip the fork fight and get the claws that make this whole job faster
Everything below works a lot better with a real pair of meat shredding claws instead of forks. Bear Paws are the pair I've used for two summers of reunions and potlucks, and they're inexpensive enough that there's no reason to keep fighting with forks.
Amazon Check Today's Price on Amazon →Step 1: Let it rest before you touch it with anything
This is the step everybody skips because they're hungry and the smell has been torturing the whole house for twelve hours. Don't skip it. When that pork butt comes off the smoker at 195 to 203 degrees internal, the juice inside is at a full boil and it needs somewhere to go besides straight out onto your cutting board. Wrap it in butcher paper or foil, drop it in a dry cooler packed with towels, and let it sit for at least 45 minutes. An hour is better.
I learned this one the hard way at a church potluck a few summers back when I pulled a butt straight off the smoker onto the counter and had it shredded within ten minutes. It looked great going into the pan and it was bone dry twenty minutes later, because every ounce of moisture had already run out onto my cutting board instead of staying in the meat. Resting isn't just about temperature, it's about giving those juices time to redistribute back through the muscle fibers so the meat stays moist once you start pulling it apart.
If you're feeding a crowd and timing matters more than usual, this rest window is actually your friend. A wrapped butt in a cooler will hold safely above 140 degrees for two hours or more, so you've got some breathing room if the side dishes are running behind or somebody's still setting up folding chairs in the yard. I've used that extra hour more than once to go run to the store for ice and come back to a butt that's actually easier to handle than it would have been fresh off the smoker.
Step 2: Set up your station before you unwrap it
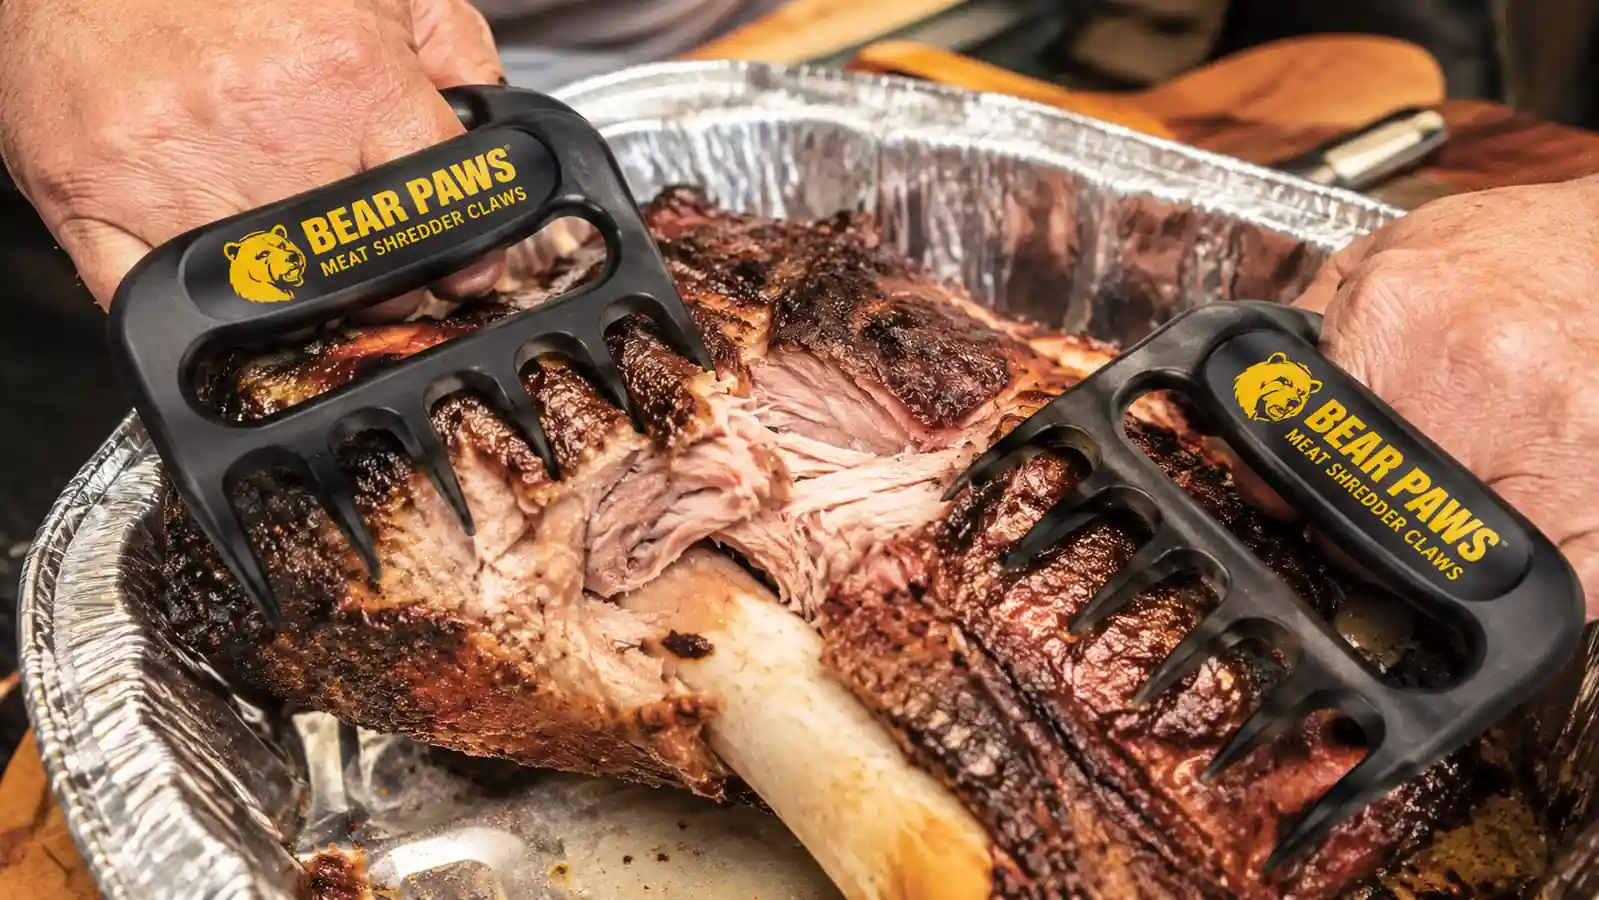
Get everything ready before that paper comes off, because once you unwrap a hot pork butt you don't want to be digging through a drawer looking for the right pan. I use a full-size aluminum foil pan set right on the counter, a pair of long tongs to move the meat around without picking it up with my hands, and my claws sitting right there ready to go.
I also keep a small bowl off to the side for bone fragments, any big chunks of unrendered fat, and bits of gristle you don't want in the final pile. Nothing kills the mood at a cookout faster than somebody biting into a piece of cartilage. Having that bowl ready means you're not stopping mid-shred to figure out where to put the stuff you're pulling out.
One more thing worth doing here: slide the bone out first if it's not already loose. A properly cooked butt will usually let the bone slip free with a gentle twist and a tug. Pull it out, set it in your scrap bowl, and now you're working with one solid piece of meat instead of fighting around a bone the whole time. If the bone doesn't come free easily, that's usually a sign the butt could have used a little more time on the smoker, but don't force it. Just work around it and pull it free once you've broken the shoulder down into smaller sections.
Step 3: Work with the grain, not against it
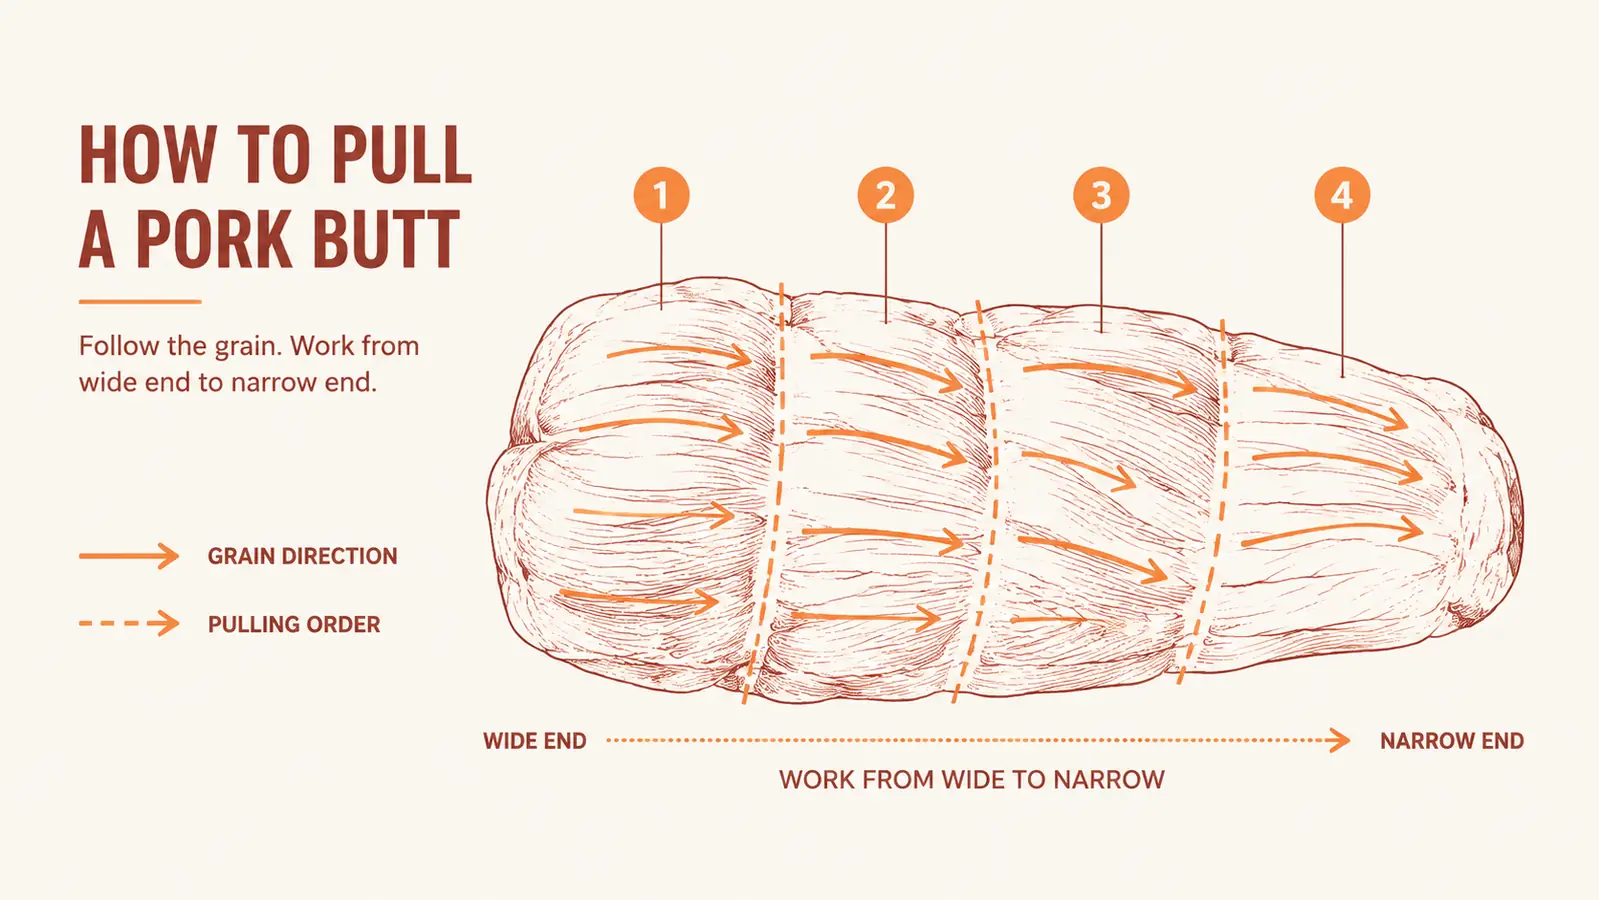
This is the part that actually separates good pulled pork from mediocre pulled pork, and it has nothing to do with your tools. Pork shoulder has muscle fibers running in different directions depending on which section you're in, kind of like a puzzle made of a few different muscle groups fused together. If you just start clawing at it randomly, you'll end up shredding across the grain in some spots, which gives you short, mushy bits instead of long strands.
Start at the wider end of the butt where the grain is usually easier to see and follow it in long, steady pulls. Sink both claws in about two inches apart, and pull them apart in one motion rather than sawing back and forth. You'll feel the meat give way in long ropes rather than crumbling. Work your way down the piece section by section, and when you hit a spot where the grain clearly changes direction, which happens near where the different muscles meet, adjust your angle instead of forcing it.
This is where the claws genuinely beat forks. The curved plastic teeth are shaped to grip and hold a chunk of meat steady with one hand while the other hand does the actual shredding, so you're not wrestling both forks against each other trying to keep the meat from spinning away from you. On a nine or ten pound butt, working this way instead of sawing at it with forks usually cuts my shredding time in half, and it saves my wrists too, which matters more to me now than it did fifteen years ago.
Step 4: Pull out fat and bark as you go, don't sort it after
Some folks shred the whole thing first and then go back through the pile fishing out unwanted fat pockets. I don't do it that way anymore because by the time you're picking through a full pan of shredded meat, you've lost track of where you've already checked and where you haven't. Instead, deal with it as you work. When your claws hit a soft, jiggly pocket of unrendered fat, mid-shoulder butts usually have a couple, pull it free and toss it in your scrap bowl right then.
The bark, that dark, peppery crust on the outside of the butt, is a different story. Don't throw that away. Chop it up into small pieces with a knife and fold it back into the shredded pork once you're done. That bark carries most of the smoke flavor and seasoning from the whole cook, and mixing it evenly through the pile instead of leaving it as a separate crust on top makes every bite taste like the best bite.
This is also the point where you'll notice how much a good pair of claws saves your hands. Bark can still be hot enough to sting even after a long rest, and having that layer of plastic between your fingers and the meat means you can keep working steadily instead of stopping every thirty seconds to shake out your hand.
Step 5: Season, rest again briefly, and hold it warm
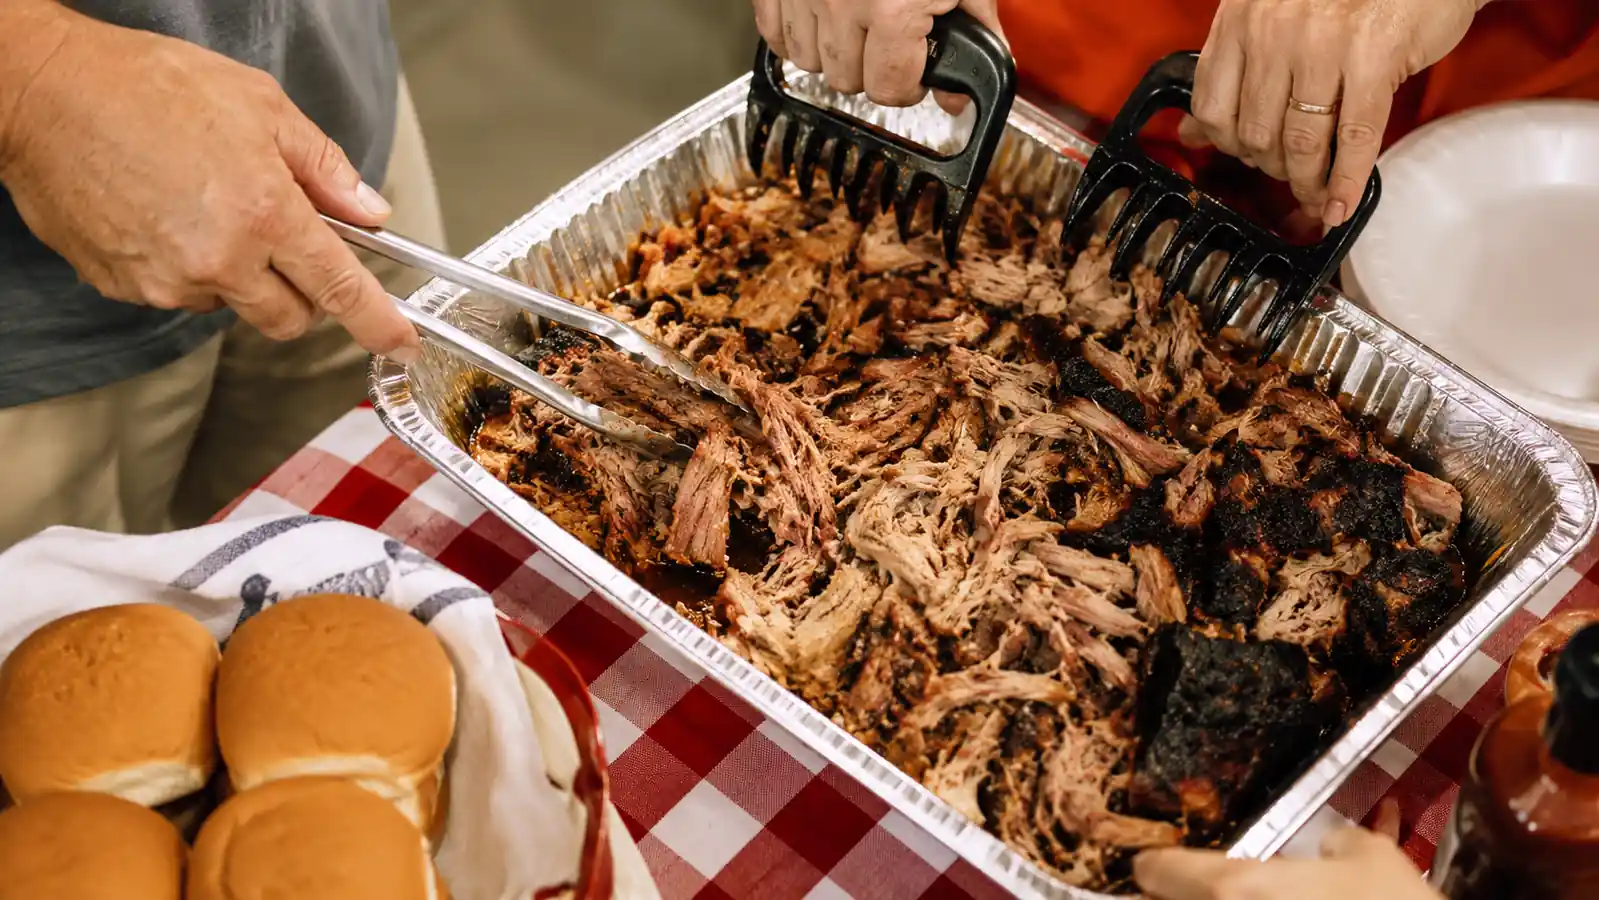
Once everything is shredded, pour any accumulated juice from the resting wrap back over the top of the pile. That liquid is basically pork stock at this point and it's a shame to let it go down the sink. I'll also splash on a thin vinegar-based sauce at this stage, nothing heavy, just enough to wake the meat back up after the rest, then use the claws one more time to toss everything together evenly.
If you're not serving right away, cover the pan tightly with foil and hold it in a low oven around 170 degrees, or back in that same cooler if you need the oven for side dishes. Pulled pork actually improves a little sitting covered and warm for thirty to sixty minutes before serving, the flavors settle and the texture relaxes. Just don't let it sit uncovered, because it will dry out fast once it's shredded and exposed to air.
For a crowd, I'll usually shred one butt at a time even if I'm smoking two or three for the day. Keeping the others wrapped and resting while I work through one keeps everything hot and fresh closer to serving time instead of having a giant pile sitting out losing heat while I'm still working on the last piece.
What Else Helps
A few extra habits make this whole process smoother if you're doing it regularly. I keep a second cutting board just for the bone and scrap pile so I'm not cross-contaminating my clean shredding surface. If the meat comes out of the cooler still uncomfortably hot to handle even with the claws' plastic teeth between your fingers and the meat, a pair of thin cotton gloves underneath buys you a few extra minutes before the heat backs off. And if you're wrapping in butcher paper for the rest, using the same paper to line your serving pan afterward keeps things simpler on cleanup day.
None of this replaces good technique, but it all adds up when you're doing this for a crowd of fifteen or twenty instead of just your own family dinner. I'd also say don't rush the last few minutes. It's tempting to declare victory once most of the pile looks shredded, but going back through for one more pass with the claws to break up any remaining chunks near the fat cap is what makes the difference between a pan that looks like it came from a real barbecue joint and one that looks like it was rushed.
Good pulled pork isn't made at the smoker. It's made in those fifteen minutes at the counter, and that's exactly where most people rush.
Get a pair of claws in the drawer before your next cookout
Once you've shredded a butt this way, going back to two forks feels like using butter knives to carve a turkey. Grab a pair of Bear Paw claws and have them ready for the next brisket or shoulder that comes off your smoker.
Amazon Check Today's Price on Amazon →